
With this site back online and an active discord (Zoids Cult), I thought it was time for a review. I am leaving the site as is it is/was to preserve the history that it contains, as I believe it’s an accurate representation of the Zoids line during that time-frame. Now that I am “back” it’s time for an old-school build review. What better to start with than the iconic Liger?
So let’s take a look at the "standard" Wild Liger. The packaging is the first major difference. The shape and size are vastly different. The Tomy release is more traditional being the classic rectangle while the Hasbro packaging features a window showcasing some a few parts including a leg and one side of the facial interior frame.
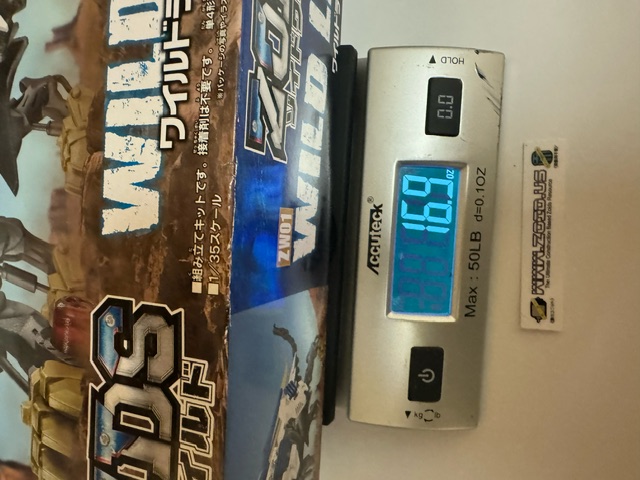
One of the first things I noticed (other than the wildly different
packaging presentation styles) was the weight, so I had to check it
out. The Hasbro version IS lighter at 14.3 ounces. The Tomy version
comes in at almost 17 ounces.
So let’s take a look at the "standard" Wild Liger. The packaging is the
first major difference. The shape and size are vastly different. The
Tomy release is more traditional being the classic rectangle while the
Hasbro packaging features a window showcasing some a few parts
including a leg and one side of the facial interior frame.
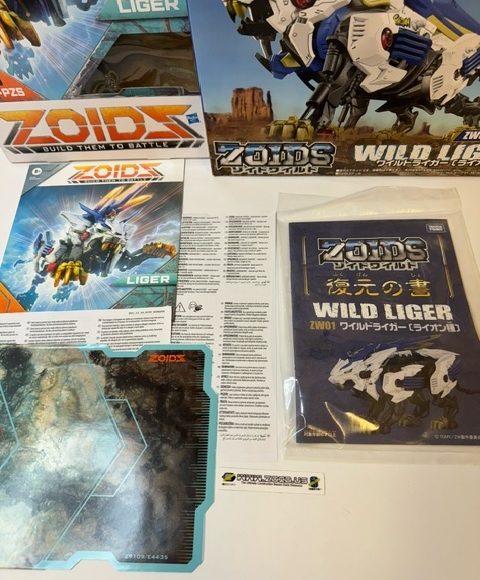
Now let’s break them out. Hasbro comes with a variety of paperwork including the instructions, a battle mat, a battery safety sheet, and a chocking hazard sheet. Tomy is bare bones in comparison with an instruction booklet.
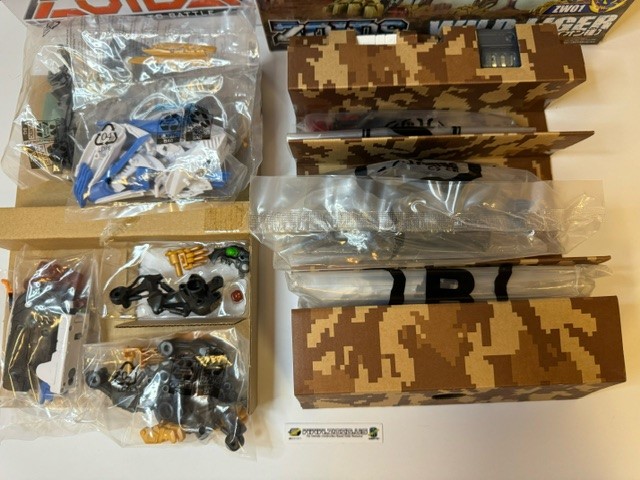
The pieces are presented in bags, with the Tomy version clearly marked, and presented in a digital camouflage accordion style sleeve versus the minimalist Hasbro packaging. Shall we build the beasts?
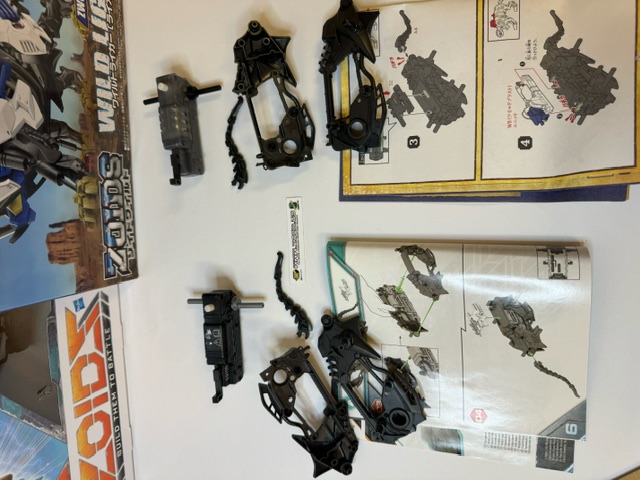
The first step is putting the axles on the motor, and attaching the power switch. Already a big difference visually. The Hasbro motor is numbered, and the colors of the pieces are different!

Next come the body shell, tail, and back blade guard piece.
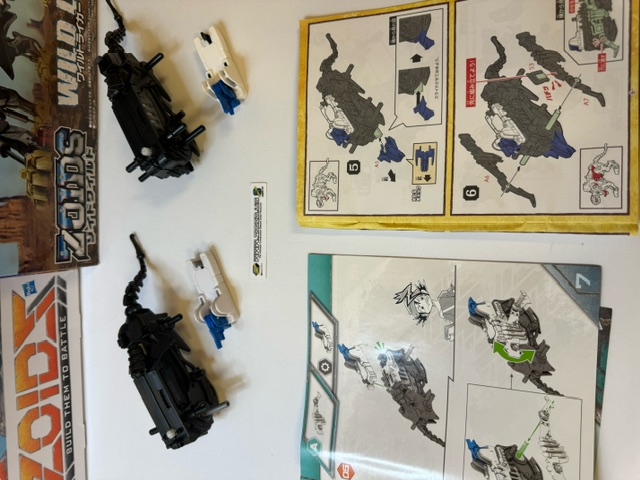
We see the difference in building steps starting here in step five. Both place the blade weapon unit, but Tomy states to install the bottom piece of chest armor that holds the body together. Note: Hasbro features a cool illustration to help guide you along.
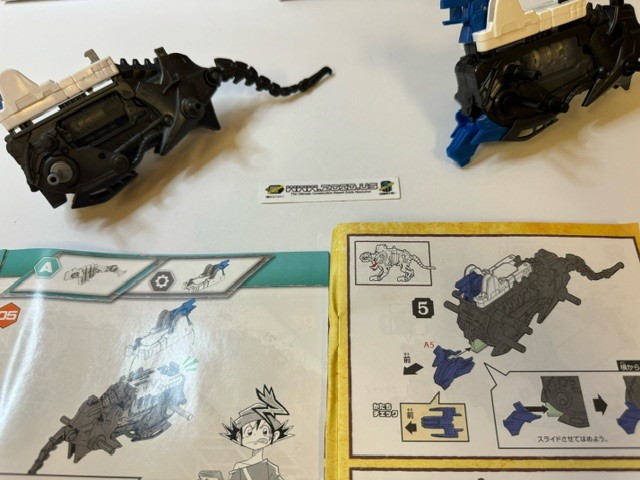
Next Hasbro states to only install half of the leg bracket and one cap, while Tomy tells us to do both. First look at the caps here. They vary in color with the Hasbro being a much deeper shade of red.


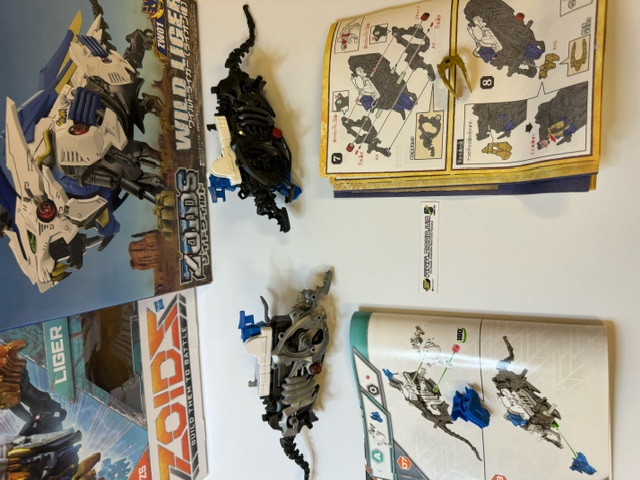
In step #8 Hasbro catches up with installing the lower chest armor, while Tomy guides us to install the neck armor/support.

We see the difference in building steps starting here in step five. Both place the blade weapon unit, but Tomy states to install the bottom piece of chest armor that holds the body together. Note: Hasbro features a cool illustration to help guide you along.

Next Hasbro states to only install half of the leg bracket and one cap, while Tomy tells us to do both. First look at the caps here. They vary in color with the Hasbro being a much deeper shade of red.


In step #8 Hasbro catches up with installing the lower chest armor, while Tomy guides us to install the neck armor/support.

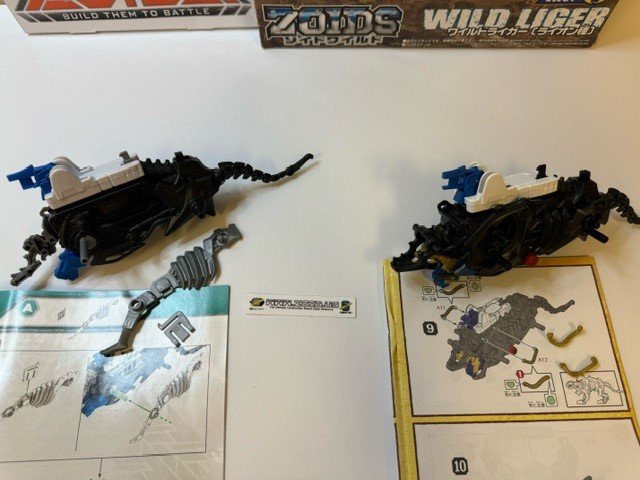
When then do the other leg bracket on Hasbro, while TOMY places
the hoses. (I love Zoids
with exposed hoses).

Step 10, Hasbro places the outer armor armor/lower jaw while TOMY
is assembling the upper cranial and fangs.
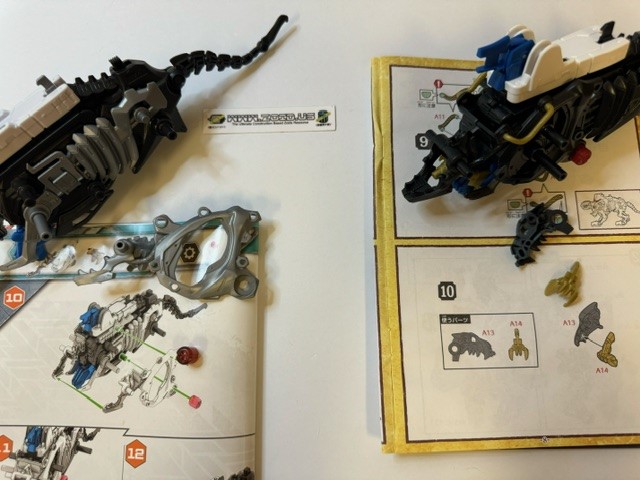
Next we place the neck armor/support on Hasbro, and assemble both sides of the upper cranium on Tomy.

Step 12 we place the hoses on Hasbro, and take a look at the legs and feet on Tomy.

Next we assemble the upper cranium on Hasbro and begin the leg work on Tomy.
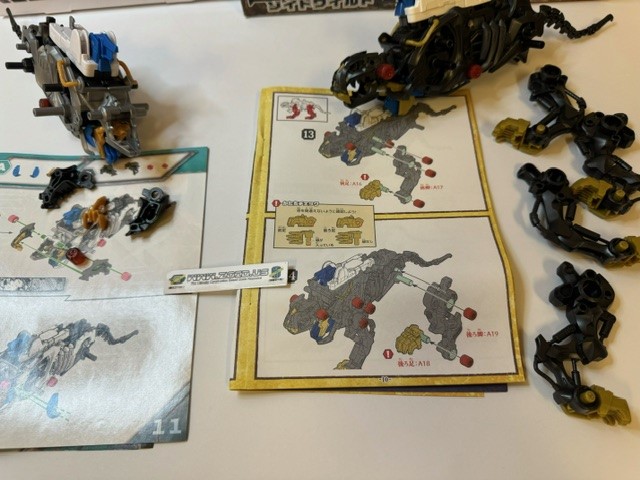

Next we place the neck armor/support on Hasbro, and assemble both sides of the upper cranium on Tomy.

Step 12 we place the hoses on Hasbro, and take a look at the legs and feet on Tomy.

Next we assemble the upper cranium on Hasbro and begin the leg work on Tomy.

Front shoulder guards on Hasbro, and left leg on TOMY.

15 is more leg work.

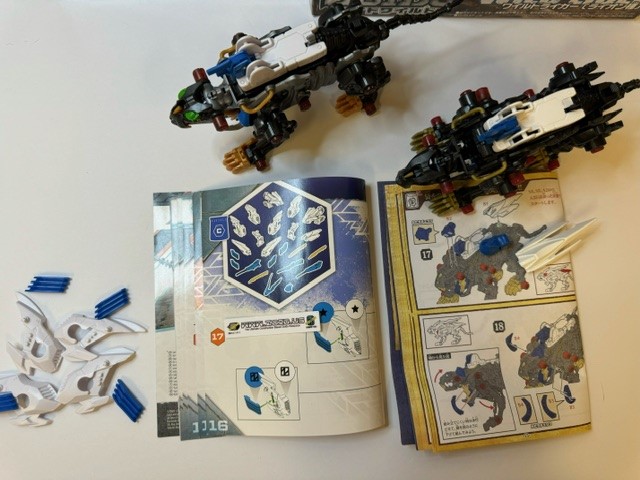

15 is more leg work.

On the Hasbro Wild Liger we assemble the shoulder armor, while
Tomy instructs us to place the pilot seat and the rear armor/power
cover.

Step 18 we place the assembled shoulder armor on Hasbro, and the
should guards on Tomy.
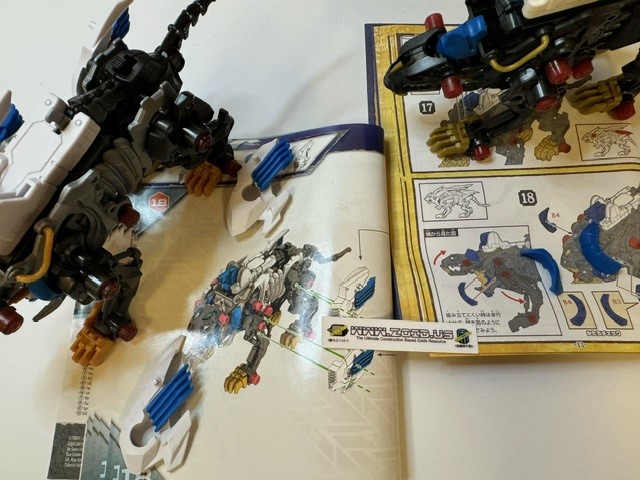
Hasbro get its pilot seat and rear armor/power cover, and Tomy places the shoulder armor.
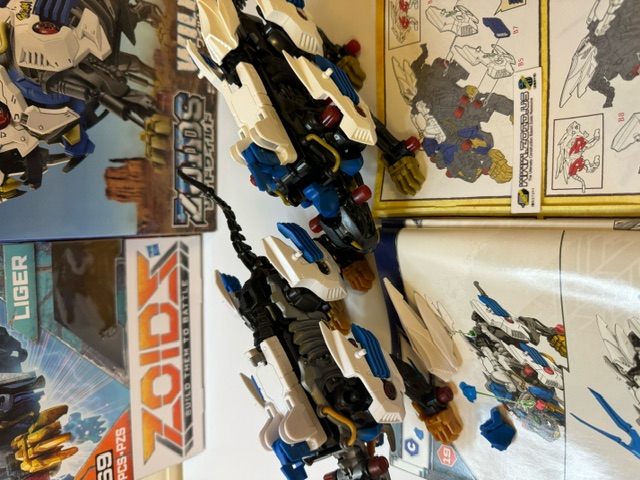
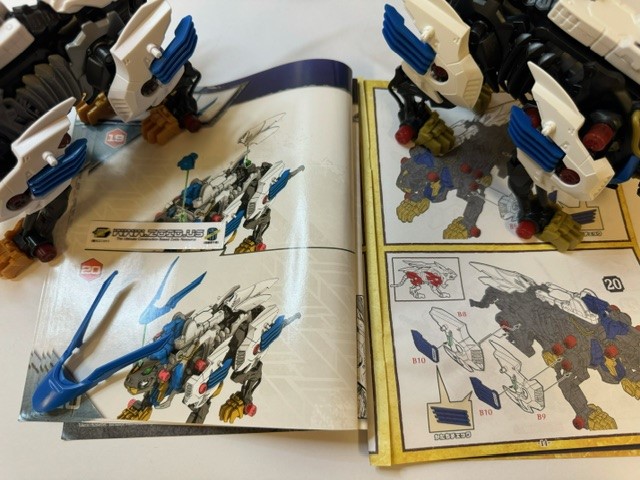
Next we assemble the facial armor which consist of two mane-like pieces that snap on the large facial armor. I don’t care for snap in pieces at all. The stress of assembly can easily snap the receiving pegs. Pro tip: To try and put the minimal amount of stress on these snap on pieces I use a hair dryer to heat the plastic before snapping the pieces on.
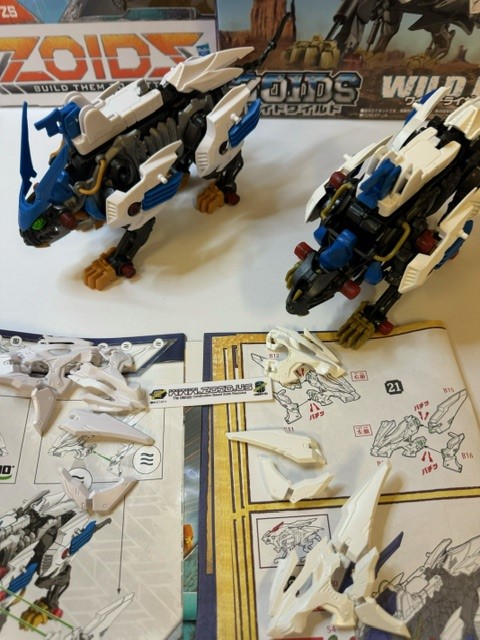
Step 22 the main blade is assembled on Hasbro, while Tomy places the visor AND eyes. The Tomy version sports separate eye pieces that look much better than the Hasbro version. (Probably due to different regional safety regulations). The Tomy eye pieces are painted MUCH better than the Hasbro.
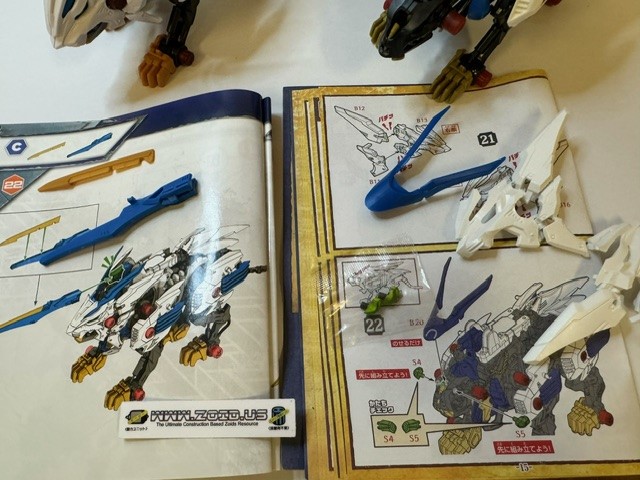
Hasbro assembles the two small blades, while Tomy places both sides of the facial armor.

On step 24, we check to make sure the Hasbro weapon function, while we build the triple blade set up on Tomy.

Finishing up, we place the blades on Tomy.

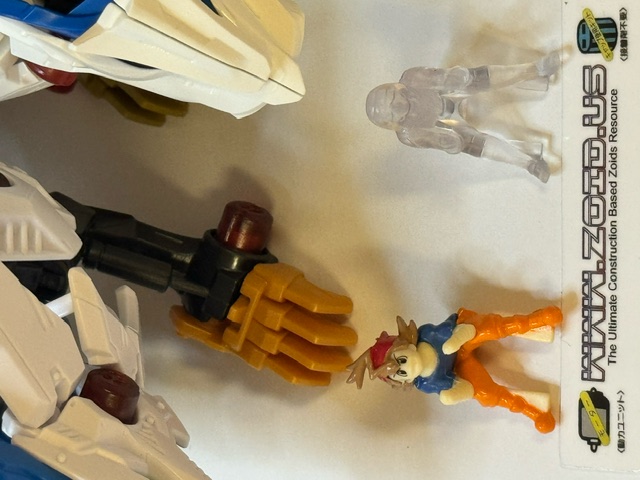
When seating the pilots we see a MAJOR difference. The Hasbro pilot is made of a pliable type plastic and is an actual character, complete with a facial expression! This is a HUGE difference in contrast to the translucent Tomy pilot.
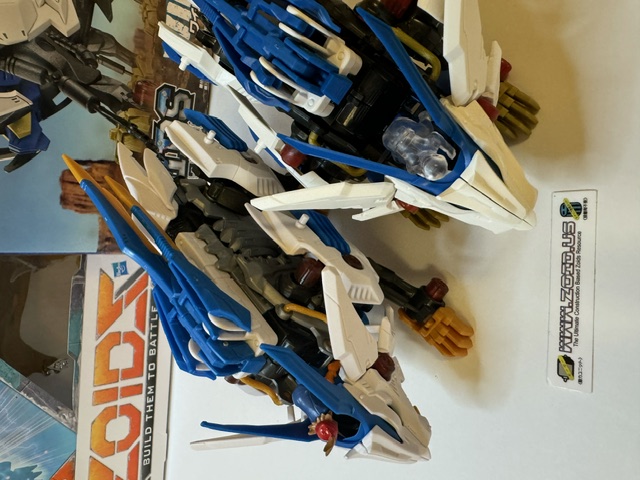
With the pilots seated, Tomy has one last step. The stickers! There are only a few to places, but it’s a nice addition to the set.

Hasbro get its pilot seat and rear armor/power cover, and Tomy places the shoulder armor.

Step 20 we fit the visor on Hasbro which is VERY reminiscent of
the Genesis Ligers! Tomy fits the shoulder armor.

Next we assemble the facial armor which consist of two mane-like pieces that snap on the large facial armor. I don’t care for snap in pieces at all. The stress of assembly can easily snap the receiving pegs. Pro tip: To try and put the minimal amount of stress on these snap on pieces I use a hair dryer to heat the plastic before snapping the pieces on.

Step 22 the main blade is assembled on Hasbro, while Tomy places the visor AND eyes. The Tomy version sports separate eye pieces that look much better than the Hasbro version. (Probably due to different regional safety regulations). The Tomy eye pieces are painted MUCH better than the Hasbro.

Hasbro assembles the two small blades, while Tomy places both sides of the facial armor.

On step 24, we check to make sure the Hasbro weapon function, while we build the triple blade set up on Tomy.

Finishing up, we place the blades on Tomy.

When seating the pilots we see a MAJOR difference. The Hasbro pilot is made of a pliable type plastic and is an actual character, complete with a facial expression! This is a HUGE difference in contrast to the translucent Tomy pilot.


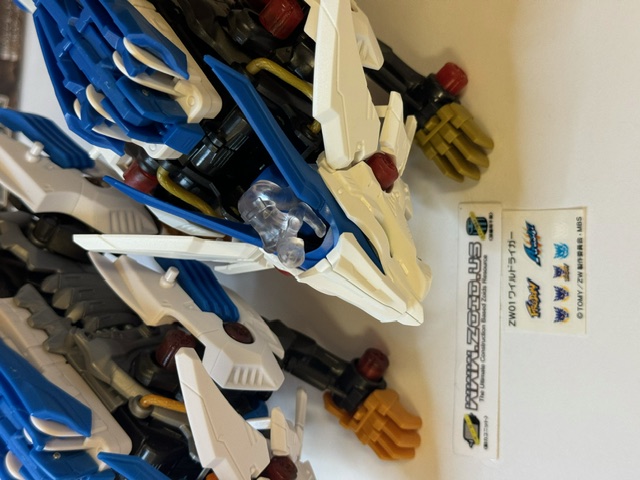
With the pilots seated, Tomy has one last step. The stickers! There are only a few to places, but it’s a nice addition to the set.

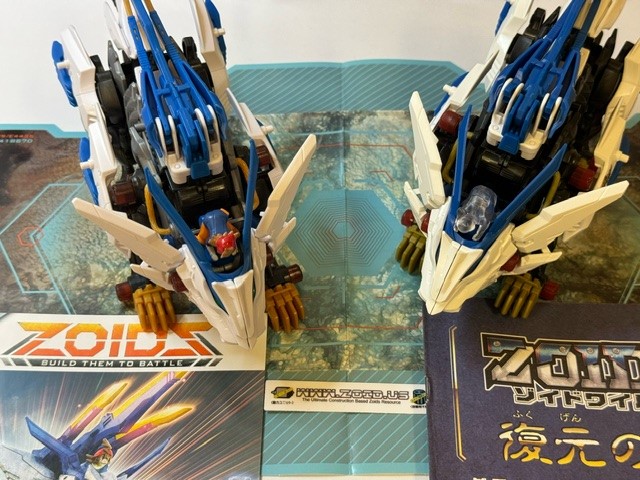
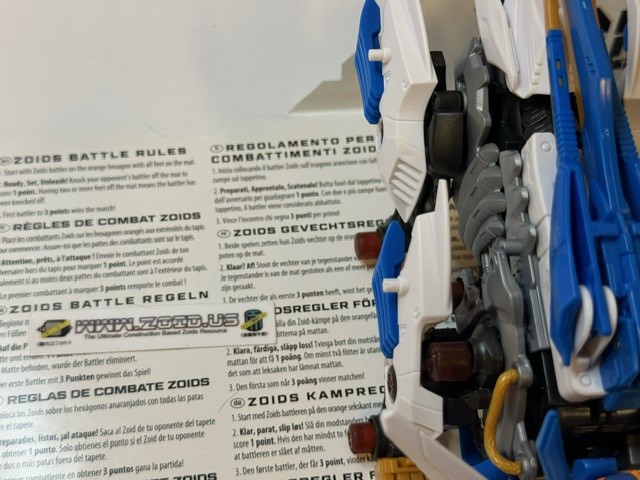
As stated previously the Hasbro version comes with a “Battle Mat”,
which is just a gloss 18” fold out.
“Build them to Battle” is taken quite literally with Hasbro giving
the rules to have the Zoids face off on the battle mat with boundary
lines. Points are scored for one Zoid pushing the opposing Zoid off the
mat to score one point. Having two feet of the Zoid out of bounds is
off mat and rewards one point. First one to score three points wins.

This has been a Zoid.US
production. No image may be used without permission. 2024 -WIKD


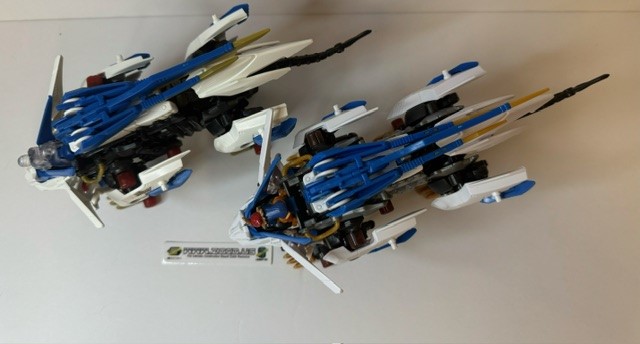
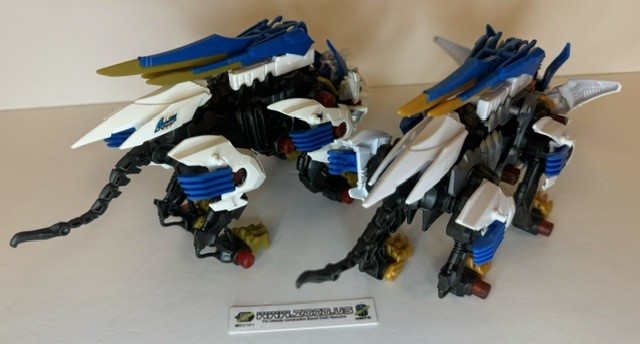
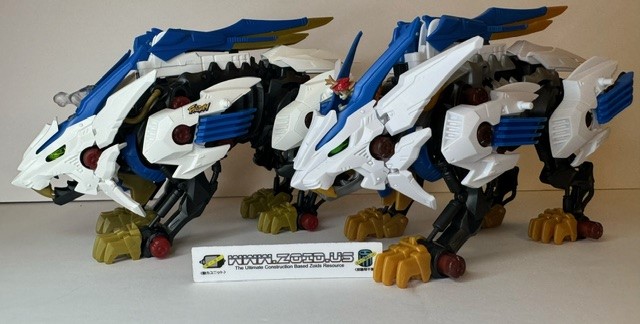
The Hasbro Wild Liger has enough variation (for me) besides the
pilot to be unique. The inner frame on the Hasbro Liger is grey with
Tomy being black, the feet are much lighter and look more metallic
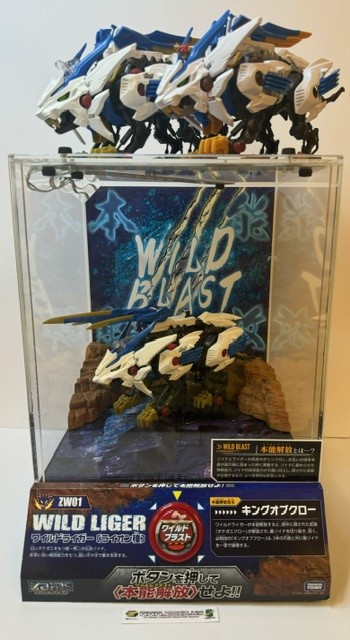
compared to Tomy. The Tomy version even differs slightly from my Zoids
Wild Liger display, but that’s for another review…
.
If you’re interested in discussing this and all other Zoids, please join the Zoids Cult discord:
https://discord.gg/MybVjtMTbF
.
If you’re interested in discussing this and all other Zoids, please join the Zoids Cult discord:
https://discord.gg/MybVjtMTbF


Zoid on! #zoidus