Building Shield Liger and it's variations.
In the following example I am using the Shield Liger Commander to display the basics of building a shield liger. Please note that the Shield liger Commander has 3 additional sprues. This should convey the basic build pattern for all Shield Liger Types.
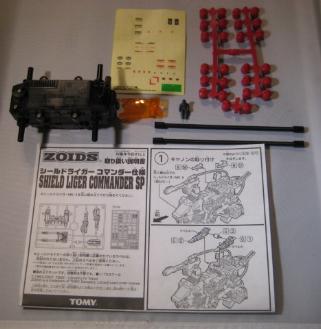
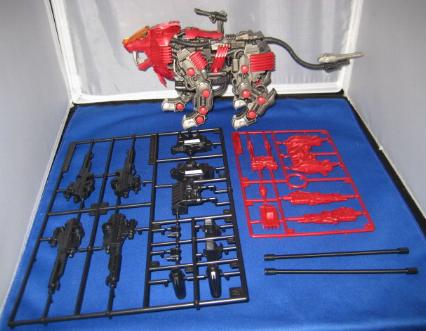
Shield Liger consists of:
5 total sprues (With up to 3 additional sprues for different variations)
1 motor
2 tubes
1 sticker sheet
1 pilot
1 motor
26 caps
1 Canopy
1 Instruction Booklet
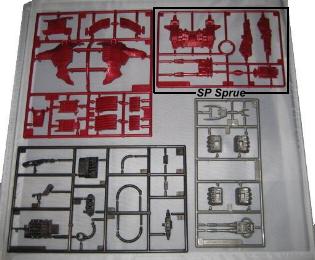
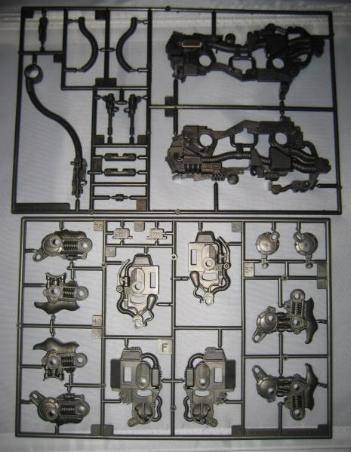
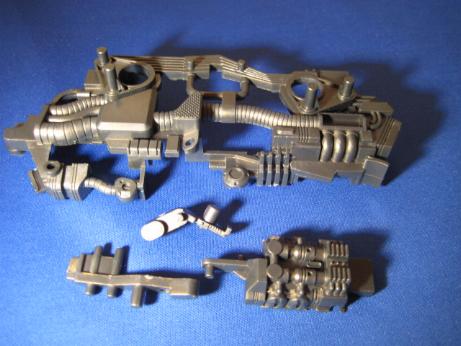
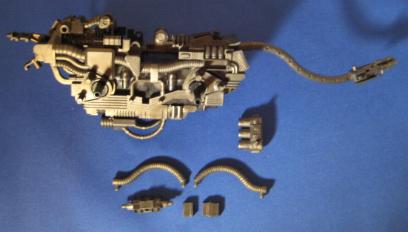
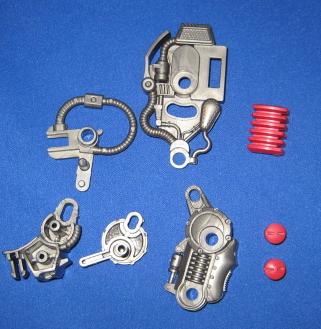
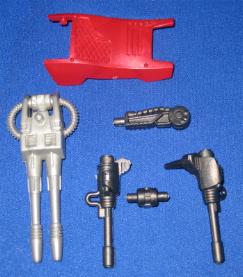
Below is a closer look at the sprues that make up the Shield Liger Commander SP. Note the extra SP sprue noted below on the upper right. We are also given the Shield Liger MK II extra sprue and hoses.

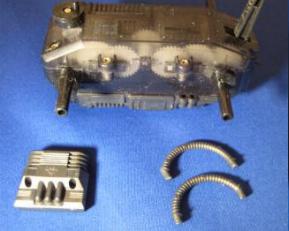
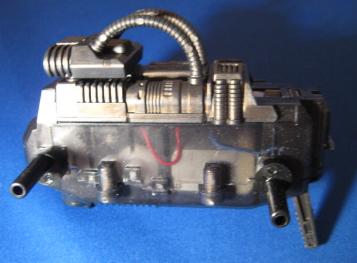
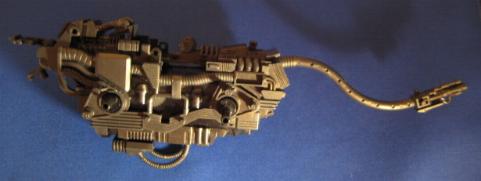
The process begins as every other Liger does, with attaching the hoses and bottom cover plate.
Next, the jaw assembly is built using the left side of the body half.
The motor and tail piece are then placed.
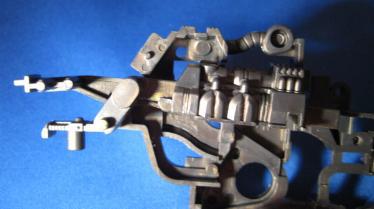
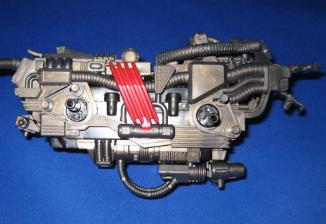
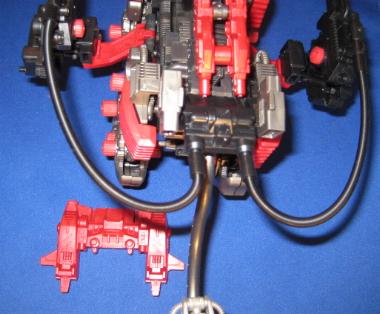
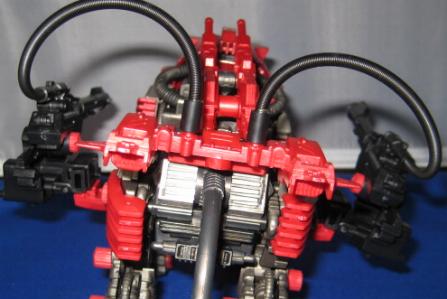
The other body half is then aligned resulting in the completed body.
Next two hoses as well as a variety of clips are placed to hold the halves together.
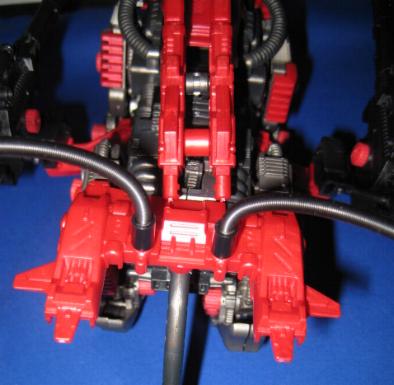
Next the two side arms are formed.
Then they are positioned on the body, one on each side.
We then start the lower jaw assembly.
Next the head is finished using the canopy, both side of the face, the upper teeth, and upper as well as lower center pieces.
The head is complete.
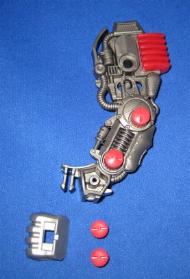
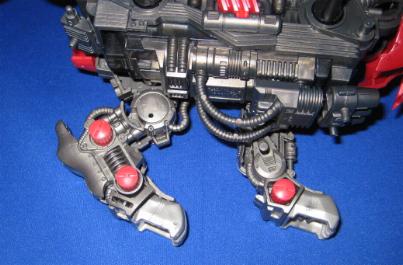
Next work begins on the front leg unit, which is composed of 6 pieces and 2 caps.
Complete.

The actual foot is then snapped in and 2 additional caps are positioned.
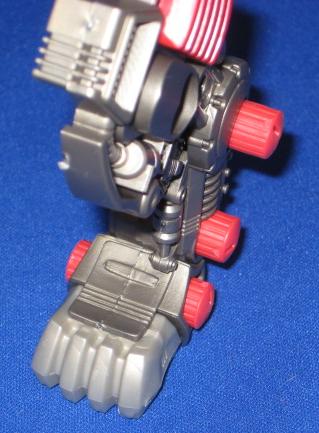
The leg is then put into it's final position with 1 cap.
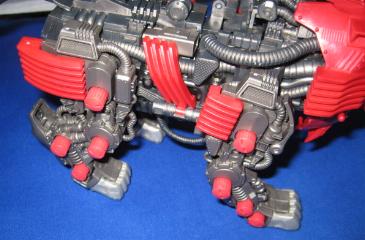
Next work begins on the hind leg, which is finished in three steps. The first step places three pieces directly on the back of the body.
Next, 3 additional pieces and 2 caps are fitted.
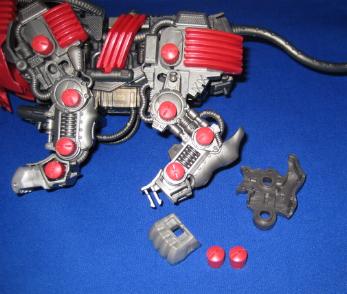
Finally, the foot and lower leg are placed into position.
The same process is then repeated for the formation of the two other legs on the opposite side.
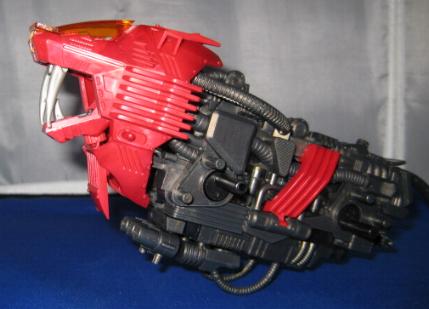
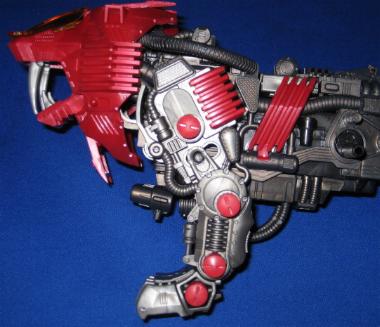
The Liger is the finished up with the back dual gun built, the back shield placed, the tail gun mounted, and the pilot seated.
The "regular" Liger build is now finished.
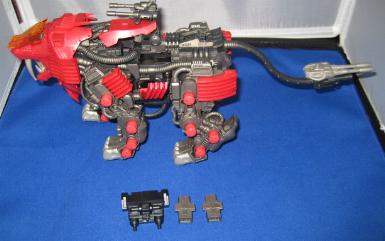
Next begins the placement of the MKII parts.
The first step in this alteration is the removal of the booster units, and the additional of the back tail fin like piece that provides a base for the hoses to attach to in a later step.
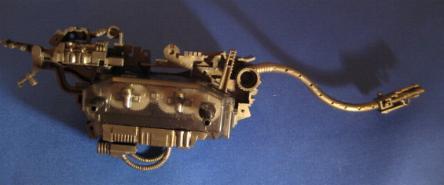
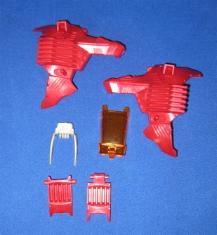
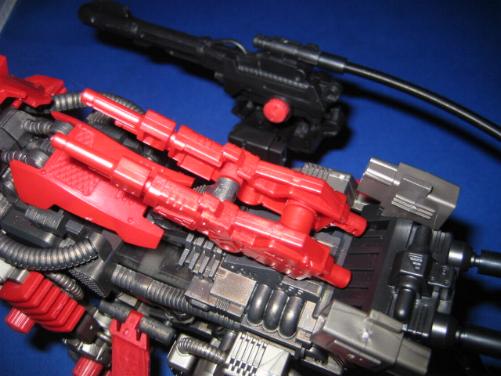
The two large cannons are then built.
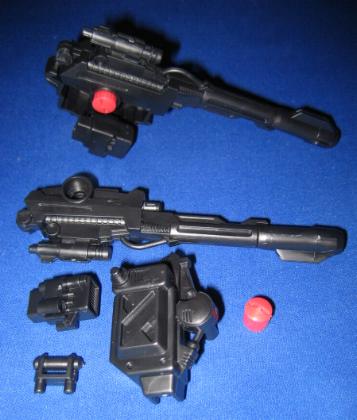
Thes cannons are now mounted on each arm, and the dual hoses are attached.
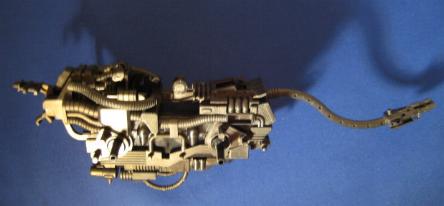
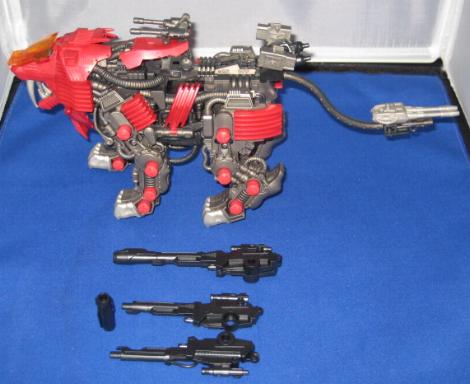
This concludes the MKII alterations. The SP parts are now added.

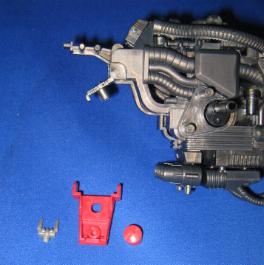
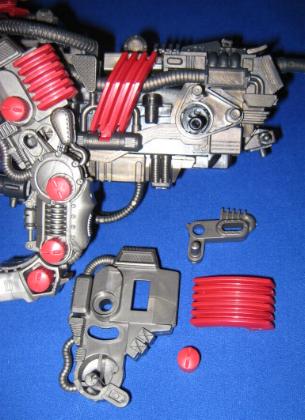
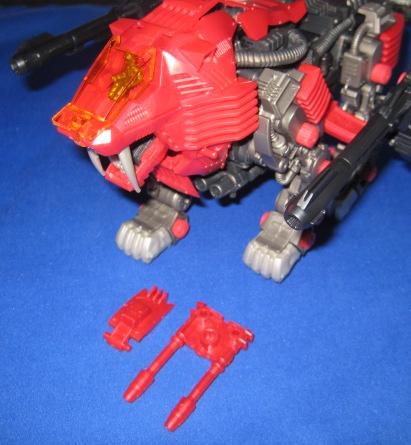
The process begins by removing the back mounted dual gun, and replacing it with a heavier and more wicked looking dual gun unit.
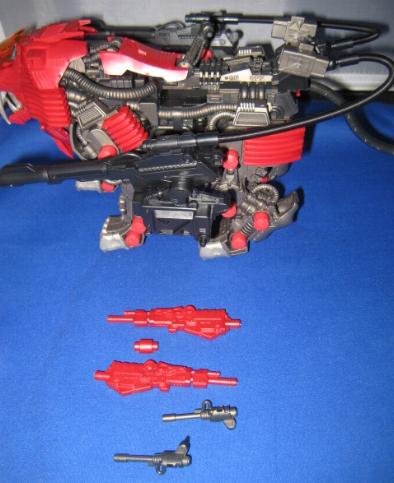
Completed.
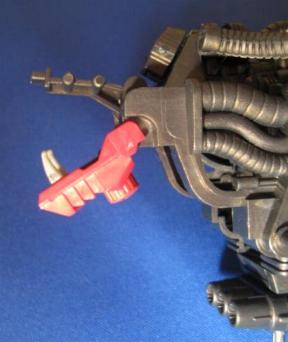
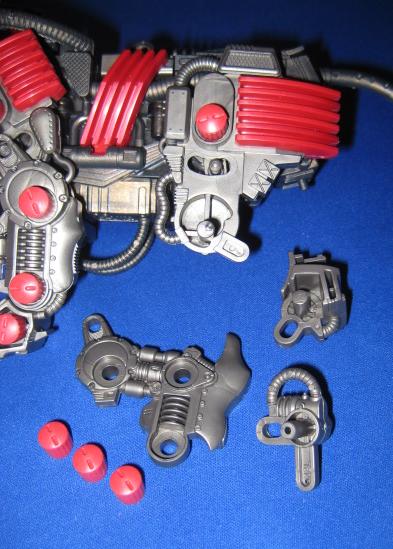
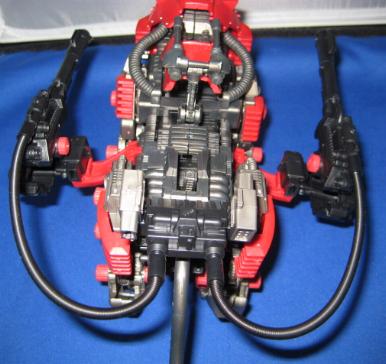
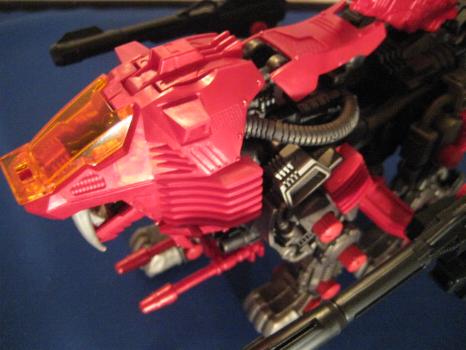
Next we remove one side of the face, and insert the SP upper center piece which is more ornate. There is also the addition of the dual under mounted chest gun unit .
Below is a completed view of the new additions.
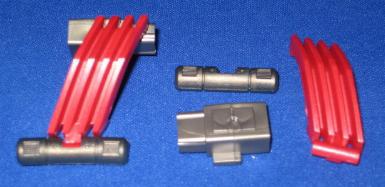
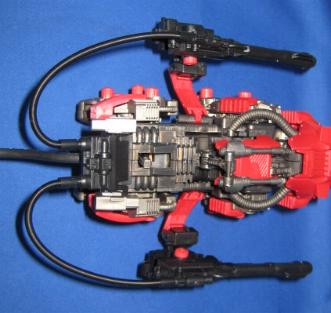
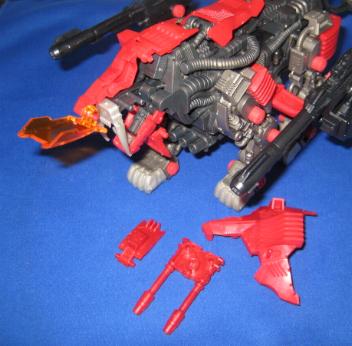
The final addition is a new tail fin piece. This is much larger than the MKII version, and also boasts some very ornate molding.
Complete.
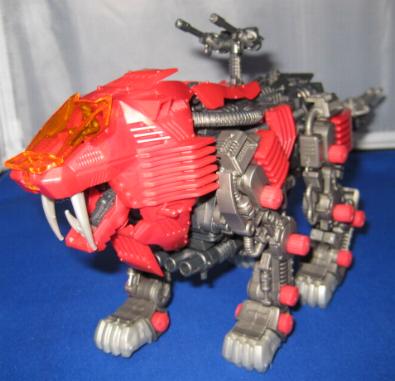
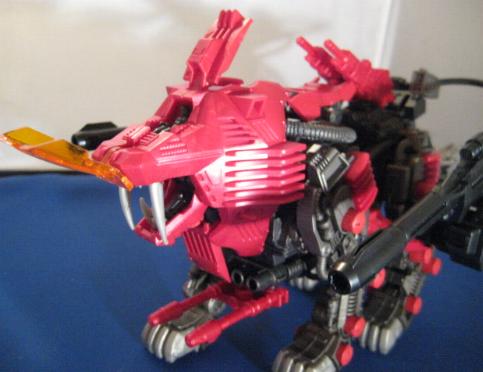
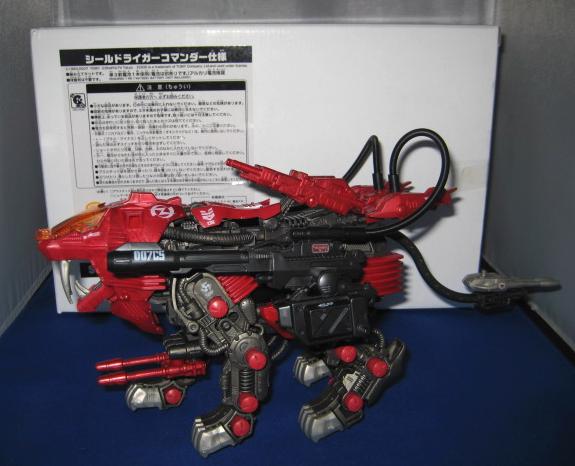
Shield Liger Commander SP is complete.
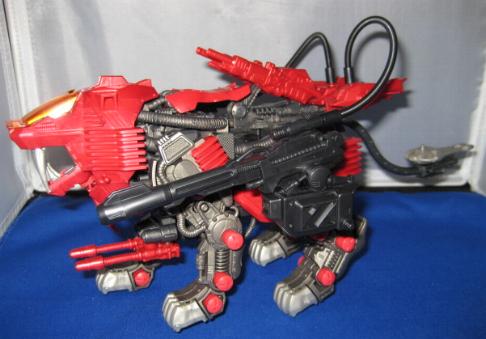
Stickers are then placed and the unit is ready for display.

This has been a Zoid.US production. No image may be used without permission. � 2007 -WIKD